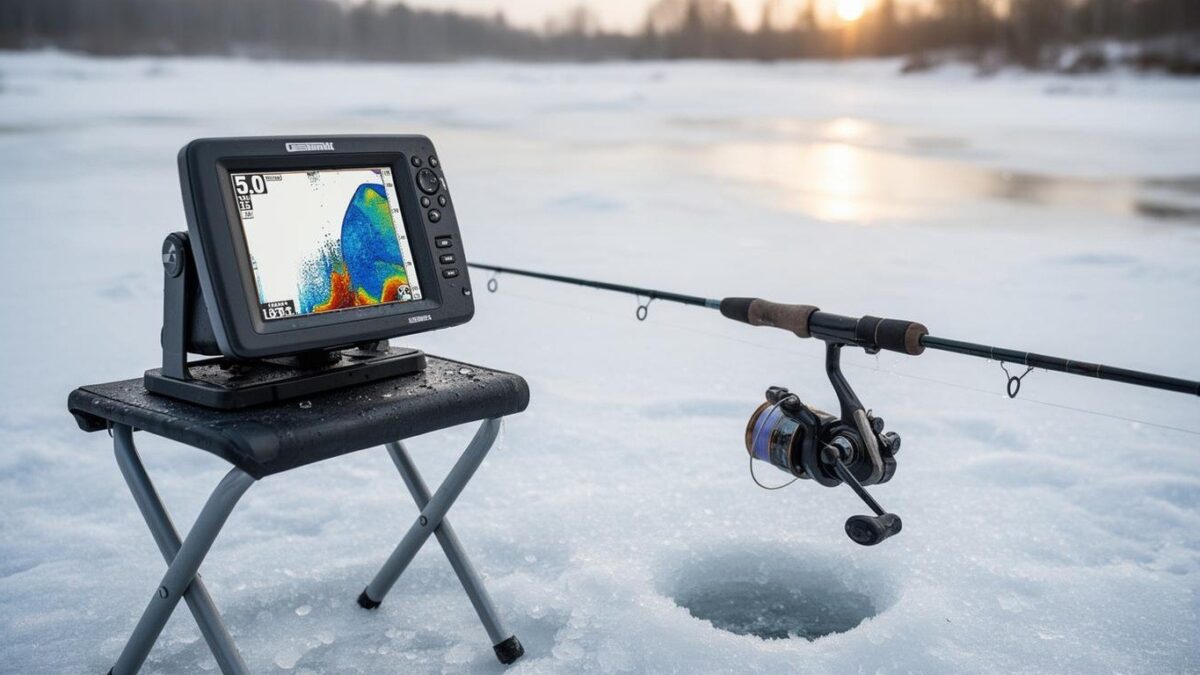
Ice conditions can change in a single day, so an advisory from last week tells you little about the ice you are about to walk on. The gear list is the easy part of an ice trip. The harder work is checking the ice, the weather and the plan you leave with someone at home. Most of the risk on the ice comes from decisions made before the first hole is drilled, and a trip that starts with good information is far more likely to end well.
This guide explains how to check advisories and reports, how to build a simple plan, what to pack for cold conditions and what to do if something goes wrong. It is a general safety guide, not a replacement for local advice. It gives no ice-thickness figures, because thickness varies across a lake and changes with weather. Follow the guidance from your local fish and wildlife agency, park office or lake managers, and treat anything you read here as a starting point.
In brief
- Advisories change quickly, so check them on the day.
- Tell someone your route, plan and return time.
- Pack for cold and for the unexpected.
In this guide
Check the advisory before you leave
Start with the official source. Fish and wildlife agencies, park offices and local municipalities often publish ice reports, and some lakes have posted advisories at access points. Read the date on each report, since old information can be misleading. Look for notes about open water, pressure ridges, inlets, outlets and areas near running water, because these places often have thinner ice.
Do not rely on a single measurement or a single report. Conditions vary across a lake, and a spot that looks solid may be weaker than the surrounding area. Ask local anglers or shop staff what they have seen, but still follow the official guidance.
Ice that held yesterday may not hold today, and a report from a different part of the lake may not describe your spot.
Watch the weather
Warm spells, rain and wind can weaken ice quickly. Check the forecast for the days before your trip as well as the day itself, since a warm spell or heavy rain can change conditions after an advisory is published. Wind can push ice around and create cracks, and snow cover can insulate the ice in ways that make it harder to judge. If the forecast shows a sharp change, it may be safer to postpone.
Plan for changing conditions during the day. Clouds, wind and temperature can all shift the situation, so check the ice as you go and be ready to leave.
Build a simple plan
Tell someone where you are going, the route you will take, the expected return time and what to do if you do not return on time. Share the name of the lake, the access point and the vehicle you will use. Bring a phone with a charged battery and keep it in a waterproof bag. Agree on a time to check in, and keep to it.
Fish with a partner when you can. A partner can help if something goes wrong, and two people are more likely to notice a change in the ice. If you must go alone, be even more cautious with your route and your check-ins.
- Check the official advisory and local reports on the day you go.
- Confirm the forecast for the day and the day before.
- Tell a contact your route, your plan and your return time.
- Pack safety gear and warm, dry clothing before you leave the vehicle.
- Check in with your contact at the agreed time.
Pack for cold and emergencies
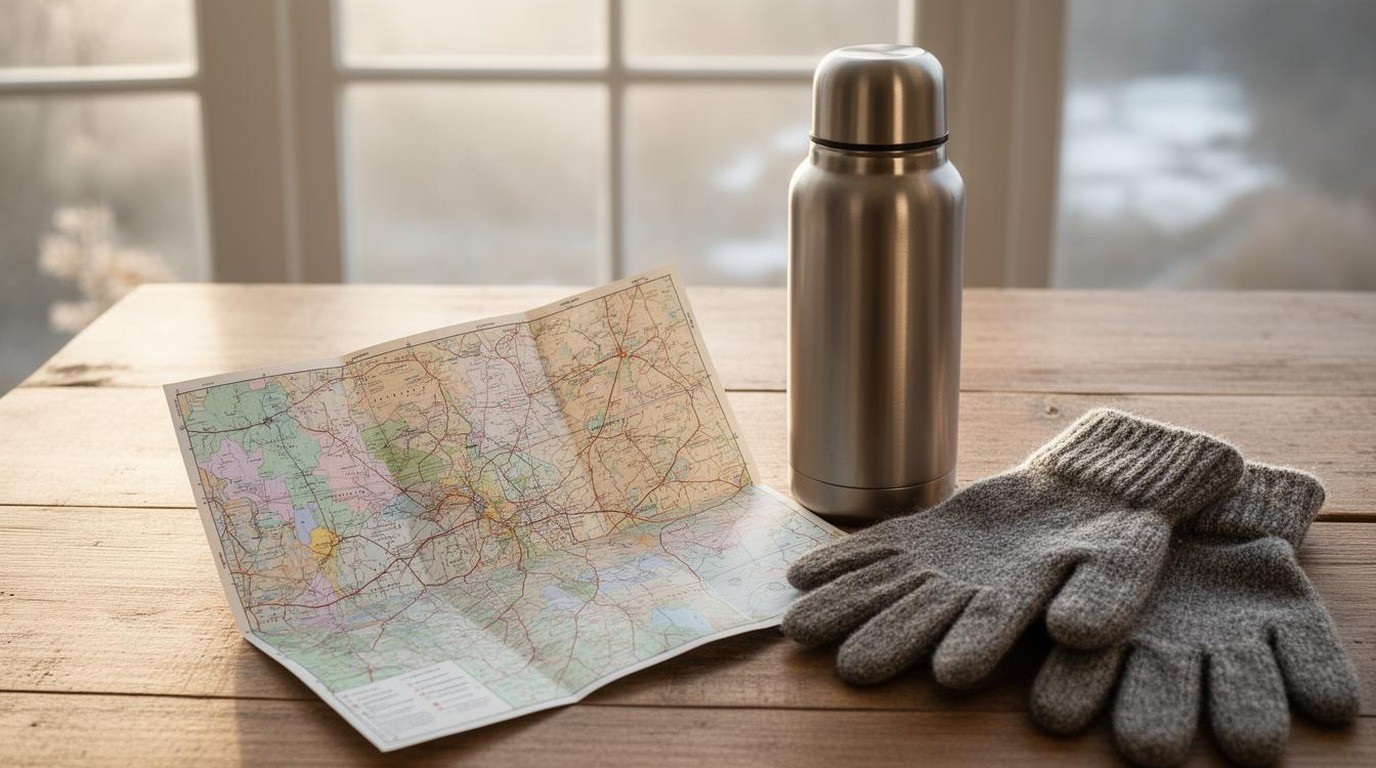
Pack more than you think you need. Bring warm layers, extra dry socks and a spare pair of gloves, stored in a waterproof bag so they stay dry. A thermos of warm drink, a snack and a small first-aid kit are useful on any trip. A whistle, a headlamp and a throw rope add safety margin.
Carry ice picks that you can reach quickly, such as on a cord around the neck. A personal flotation device is commonly recommended by safety organizations, and a phone in a waterproof pouch helps you call for help. Keep your gear organized so you can grab what you need without fumbling in the cold.

If you go through the ice
Stay calm, and do not try to stand up on weak ice. Turn toward the direction you came from, where the ice was solid, and kick your legs to get your body horizontal. Use the ice picks to pull yourself onto the surface, and roll away from the hole toward solid ice. Once you are out, move carefully to shore or a safe area, and get out of wet clothes as soon as possible. Call emergency services as soon as you can. Safety courses on cold water and ice rescue are available in many areas, and taking one before a trip is a good investment.
Leave the lake the way you found it
Pack out everything you bring, including bait containers, line and food wrappers. Keep your vehicle close to the access point, and never drive onto the ice unless local authorities have specifically permitted it. Our guide to ice augers explains how to handle drilling safely, and our notes on portable shelters cover how to set up one safely.
The short version
Check official advisories and the forecast, tell someone your plan and bring gear that keeps you warm, dry and able to get out of trouble. Use the advisories to decide whether to go, and remember that they change quickly. There are no ice-thickness rules in this guide, because the honest answer is that the ice must be checked by people who are monitoring it. A calm, well-prepared trip is the best kind of ice fishing.
Before you leave
- Check the official advisory and local reports on the day.
- Confirm the forecast for the day and the day before.
- Tell a contact your route and return time, then check in on schedule.